How to Hang Picture Frames
Without Losing Your Mind!
PHOTOGRAPHY
7/14/20263 min read


There are two kinds of people in this world: those who can look at a blank wall and instantly know where every picture should go...and the rest of us.
I definitely fall into that second group.
For years I'd hold a frame against the wall, step back, move it an inch, step back again, convince myself it looked perfect, hammer in a nail...and immediately realize it was crooked or too high. Sound familiar?
Thankfully, I've learned a few tricks over the years that make hanging pictures so much easier—and honestly, kind of fun.
Start on the Floor
Before you even think about grabbing a hammer, lay all of your frames out on the floor.
This lets you play around with different arrangements without making a dozen holes in your wall. I like to keep moving things until something just "feels right." Sometimes the arrangement I thought I'd love ends up looking awkward, and another layout surprises me.
Don't rush this part. It's the easiest place to experiment.
Think of the Whole Group as One Piece
One mistake I used to make was trying to line up every frame individually.
Instead, imagine all the frames together as one large piece of artwork. Once you think of it that way, it's much easier to center the entire arrangement over a sofa, bed, console table, or fireplace.
Paper Templates Are a Game Changer
This might be my favorite decorating trick.
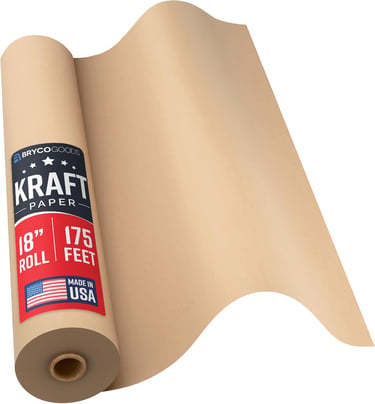
Trace each frame onto kraft paper, newspaper, or even wrapping paper. Cut the shapes out and label them so you know which frame is which.
Then tape the paper templates to the wall using painter's tape.
Now you can stand back, make adjustments, and rearrange until you're happy. No nail holes. No regrets.
When everything looks right, simply hammer your nails right through the paper where the hanger will go. Pull the paper away afterward, and you're ready to hang the frames.
It's ridiculously easy.
Use Painter's Tape as a Guide
If you're hanging several frames in a straight line, place a long strip of painter's tape across the wall where you want the tops or bottoms to line up.
The tape acts like a visual ruler, helping everything stay nice and even.
Once you're finished, peel it off and admire your perfectly aligned gallery.
The Toothpaste Trick
Here's an old DIY trick that still works.
Put a tiny dab of toothpaste on the back picture hanger. Hold the frame exactly where you want it and gently press it against the wall.
When you pull it away, the toothpaste leaves a little dot showing exactly where your nail should go.
Simple, inexpensive, and surprisingly accurate.
Give Your Frames Some Breathing Room
You don't have to crowd everything together.
As a general guideline, leave about 2 to 3 inches between smaller frames and around 3 to 5 inches between larger ones.
Consistency usually looks more polished than trying to eyeball every gap.
Hang at Eye Level...Mostly
Museums have this figured out.
The center of artwork is usually around 57 to 60 inches from the floor.
Of course, there are exceptions. If you're hanging pictures above a sofa or headboard, they should be closer to the furniture rather than floating high above it.
A good rule is to leave about 6 to 10 inches between the furniture and the bottom of your frames.
Mix Sizes for Interest
Not every frame has to match.
Some of the prettiest gallery walls combine large statement pieces with smaller photos, artwork, mirrors, or meaningful keepsakes.
The key is balance, not perfection.
Don't Stress About Perfect Symmetry
Here's something I've learned: rooms feel more inviting when they look collected over time instead of looking like a furniture showroom.
If everything is perfectly identical, it can actually feel a little stiff.
A gallery wall with a bit of personality often tells a better story.
My Favorite Tool
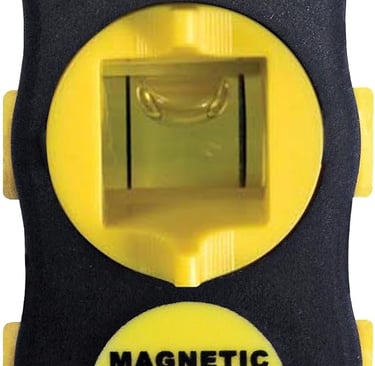
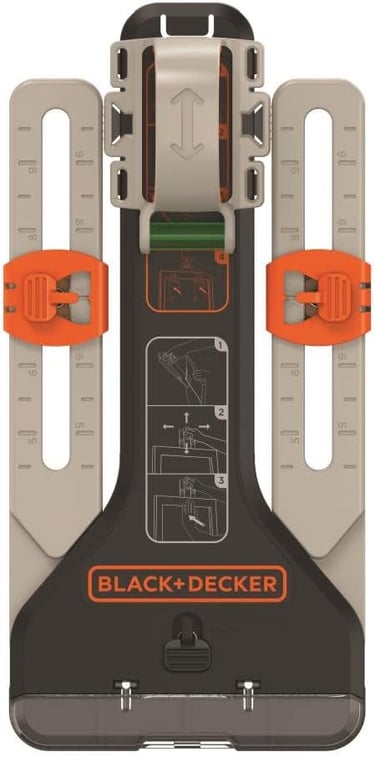
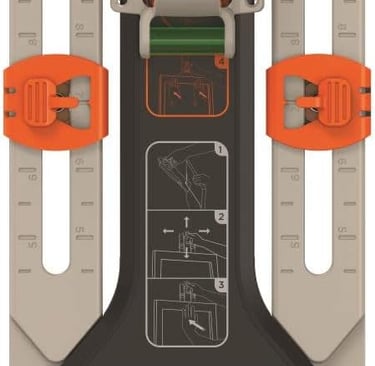
If you hang pictures often, a picture hanging tool with a built-in level is worth every penny.
Many also help measure the hook location automatically, taking the guesswork out of where the nail actually belongs.
It's one of those inexpensive tools that you'll wonder how you lived without.
Final Thoughts
Decorating your walls should be enjoyable, not stressful.
Take your time, experiment with layouts, and don't be afraid to trust your eye. If something doesn't feel quite right, it probably isn't—and that's okay. The beauty of decorating is that nothing is permanent.
Some of my favorite gallery walls weren't carefully planned. They evolved over time as I collected photos, artwork, and little pieces that made me smile.
And honestly? I think that's what makes a house feel like home.